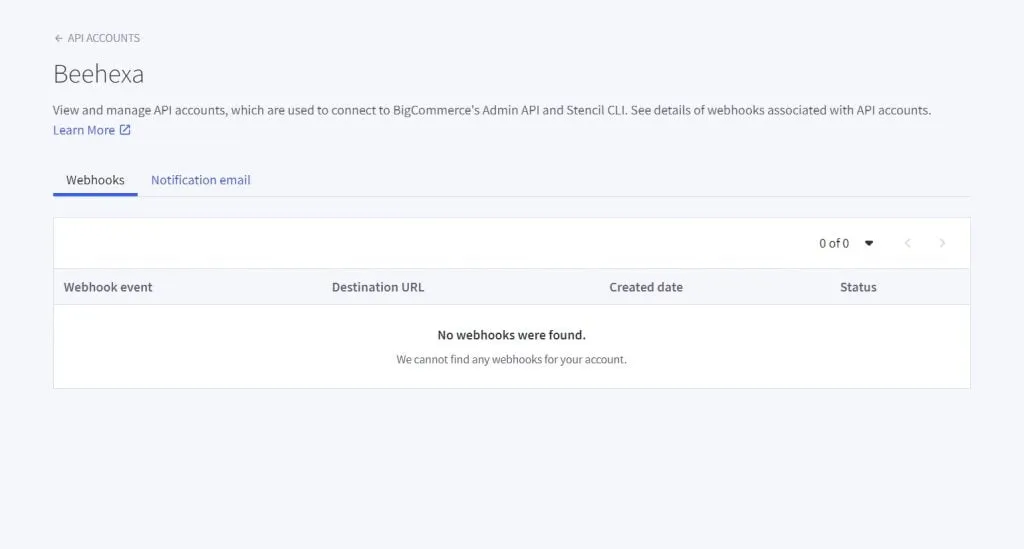
In the previous Blog, I showed you how to create a BigCommerce API Account and when creating an API account, there will still be no active webhook in the account, so today, I will continue to show you how to create a webhook using Postman.

The BigCommerce Webhook API is a concept that automates notifications when changes occur in a store. By integrating with BigCommerce via Webhooks, developers can build applications more efficiently. The most visible effect of Webhooks for merchants is faster and more robust integration with third-party applications.
Webhooks are a great way to save time and money on BigCommerce as a merchant. And here is a link to our Webhook document that gives you a clearer view of what a Webhook is and how it works
Because of the reasons above, today, we will show you how to create a BigCommerce Webhook using Postman.
Create a webhook by sending a POST request to the Create a webhook endpoint. Ensure the scope property value equals the Name / Scope of the webhook you’re creating.
Here is how to create a BigCommerce webhook
Note: You can only create one webhook at a time. You can add custom headers. Port 443 must be used for destination URLs (custom ports are not supported at the moment).
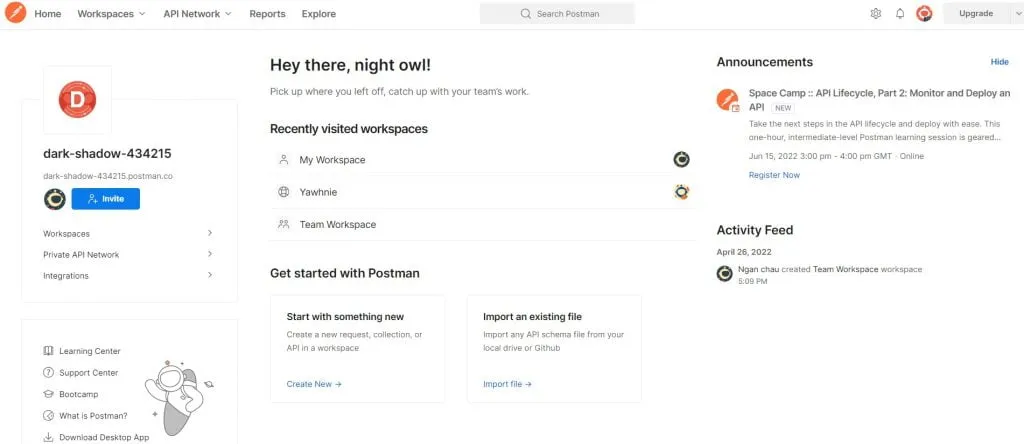
Step 1: Access to Postman
Log into your Postman, and create a new workspace to sent an API request.

Step 2: Make a new POST to Create a Webhook API
Make a new POST with this URL:
1. Firstly, replace {store_hash} with your store_hash that you generated on BigCommerce from the API path.
Example: API PATH: https://api.BigCommerce.com/stores/e167z2xh9d/v3/
In the base path, the store hash is the e167z2xh9d. You will use this to make API requests.
2. Secondly, replace {api-version} with the API version you want
3. Last, enter X-Auth-Token on the Key column and Access Token on the Value column in the Header section (found in your BigCommerce control panel by creating an API account.)
4. In the Body section
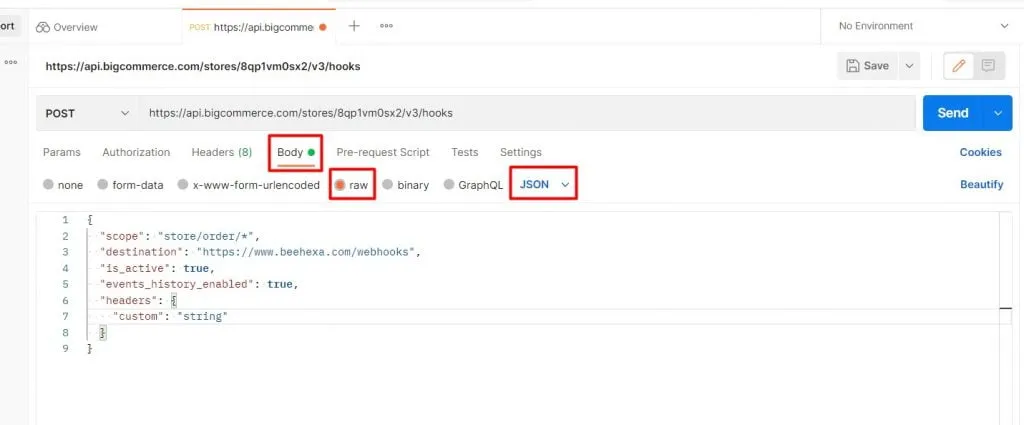
First of all, you need to click on the Body section, then tick “raw” to fill in the data. Remember to change the “text” to “JSON”.
Now you can customize the webhook.
The data you need to declare here will include:
- Scope: Event you subscribe to (can be orders, products, customers, channels…)
- Destination: URL must be active, return a 200 response, and be served on port 443 (custom ports not currently supported).
- Example: https://www.beehexa.com/webhooks
- Headers (object or null): The number of custom headers you pass in to validate webhooks can be any number.
Optional
- Events_history_enabled: Identifies whether events are stored that could not be received. Example: true/false
- Is_active: If webhook is active or not Example: true/false

5. Once done, press the send button on the right side of the screen
As a result, the API will return the data like this.
{
    "data": {
        "id": 24096433,
        "client_id": "7f36ivdytjln5nduvkuzq6cnp215nfw",
        "store_hash": "8qp1vm0sx2",
        "scope": "store/order/*",
        "destination": "https://www.beehexa.com/webhooks",
        "headers": {
            "custom": "string"
        },
        "is_active": true,
        "created_at": 1654240905,
        "updated_at": 1654240905
    },
    "meta": {}
}Code language: JSON / JSON with Comments (json)
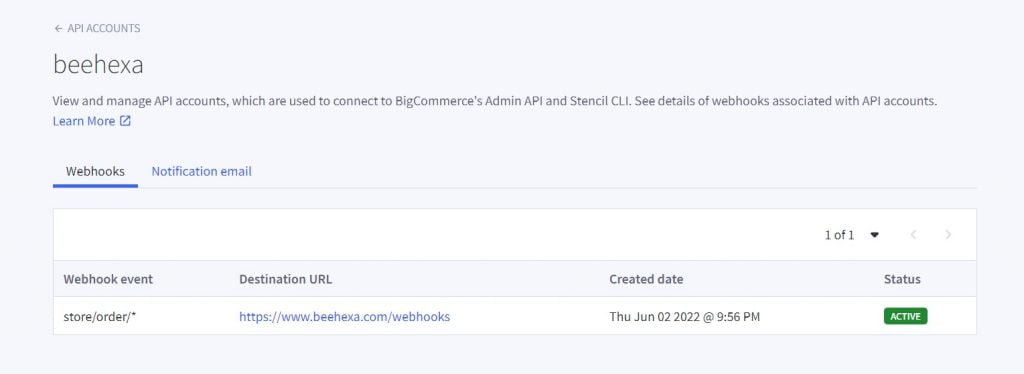
After all, turn back to your BigCommerce API Account to see the result
Here you can see the webhook we just created appear with the information include: webhook event, destination URL, created date and status,…

An active URL must respond with a 200 response and run on port 443 (custom ports not currently supported).
Above all, those are steps to Create a BigCommerce webhook using Postman. If you have any problems in any step, please double-check it carefully, and you can also contact us so we can help you. If you have questions, then comment below or refer to our BigCommerce API documentation.
Hopefully, you can do it.
These steps will be shown visually in the video below.
